
.png)

🚀 Introduction
Welcome to this in-depth guide on table creation and database handling in Node.js using Sequelize. In this blog post, you'll learn how to effectively manage your Node.js application's configuration, create tables in your database, and use environment variables securely. This guide is perfect for developers looking to enhance their skills in Node.js and Sequelize.
Setting Up the Configuration
To manage your database connections effectively, follow the MVC (Model-View-Controller) architecture. This helps in organizing your code in a more manageable way.
First, create a config folder to store your database configuration. This is a step up from placing configuration directly in your main file, improving code structure and readability.
Here’s an example of how to set up your configuration:
// dbconfig.js
module.exports = {
    HOST: "localhost",
    USER: "root",
    PASSWORD: "",
    DB: "sudip",
    dialect: "mysql",
    PORT: 3306,
    pool: {
        max: 5,
        min: 0,
        acquire: 30000,
        idle: 10000
    }
};
In your main application file (e.g., index.js), import and initialize the Sequelize instance using this configuration. This setup allows Sequelize to connect to your database with the specified settings.
// index.js
const db = require('./config/dbconfig.js');
const { Sequelize } = require('sequelize');

const sequelize = new Sequelize(db.DB, db.USER, db.PASSWORD, {
    host: db.HOST,
    port: db.PORT,
    dialect: db.dialect,
    pool: {
        max: db.pool.max,
        min: db.pool.min,
        acquire: db.pool.acquire,
        idle: db.pool.idle
    }
});
Ensure your configuration is correct by running your application. If the database doesn’t exist, you may see an error. Create the database, and the output should confirm a successful connection.
Creating Tables
Define your database tables within the models folder. This separation of concerns keeps your codebase clean and organized.
Here’s an example of creating a blog table:
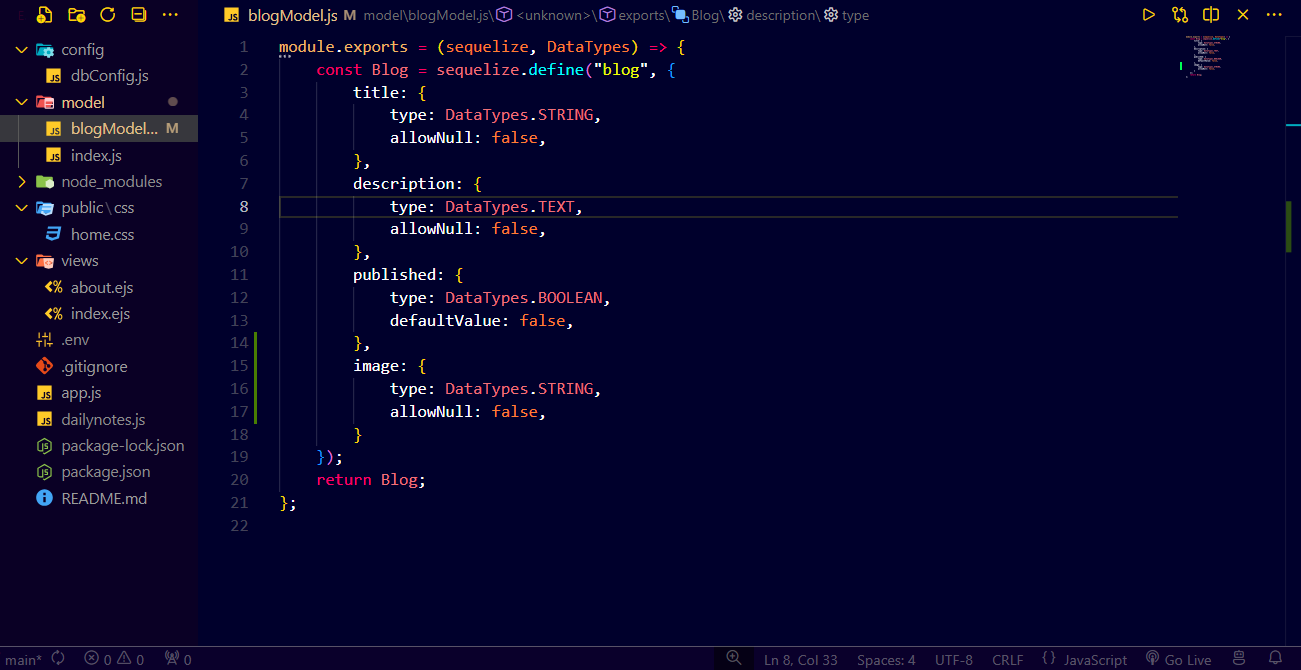
// blogmodel.js
module.exports = (sequelize, DataTypes) => {
    const Blog = sequelize.define("blog", {
        title: {
            type: DataTypes.STRING,
            allowNull: false,
        },
        description: {
            type: DataTypes.TEXT,
            allowNull: false,
        },
        published: {
            type: DataTypes.BOOLEAN,
            defaultValue: false,
        }
    });
    return Blog;
};
The blogmodel.js file defines a Blog model with fields for title, description, and published. The sequelize.define method is used to create the table with these fields and their respective data types.
Using .env Files
To securely handle sensitive information such as database credentials, use the .env file along with the dotenv package.
First, install the dotenv package:
npm install dotenv
Create a .env file to store your environment variables:
// .env file
HOST=localhost
USER=root
PASSWORD=
DB=sudip
PORT=3306
Import the .env file in your application’s entry point:
// app.js
require('dotenv').config();

const host = process.env.HOST;
const db = process.env.DB;
Using environment variables helps keep sensitive information out of your source code and makes your application more secure.
Conclusion
By following the steps outlined in this blog, you can effectively manage your Node.js application's configuration and database handling using Sequelize. Keep your sensitive information secure with .env files and follow best practices for code organization to ensure a scalable and maintainable codebase.
